Image: Gustavo Galeano Maz/Pexels
Before the boxes cover the floors, take a good look around your new rental. A move-in inspection checklist helps you record existing damage, check that things work and discuss repairs with your landlord. It creates a reference you can return to when you move out.
Start with doors and locks, then check floors, walls, windows, appliances, plumbing and safety equipment. Write down specific problems, take photos and keep a copy of the inspection report. This guide is for renters in Canada, including anyone getting the keys to their first apartment.
Download the free printable move-in inspection checklist (PDF). Use it as a personal worksheet alongside any report required in your province; it is not a substitute for a legally compliant condition inspection report.
Table of contents
- Before your rental walkthrough
- Room-by-room move-in inspection checklist
- How to document damage with photos
- Record repairs and share the report
- Check your province’s inspection rules
- Move-in inspection FAQs
Before your rental walkthrough
Ask your landlord or property manager to arrange a joint walkthrough, ideally while the unit is empty and before you unload. Bring your phone, charger, pen, checklist and lease. Check which appliances, storage spaces and parking spaces are included so you can inspect those too.
Agree on a time separately from the movers’ arrival. If you are still coordinating transportation, explore our local moving services. For utilities, packing and household essentials, use the broader first apartment moving checklist.
Record the address, inspection date, people present and number of keys or fobs received. Mark anything you cannot check as not tested, with a reason. An appliance disconnected from power is not the same as one confirmed to work.
Room-by-room move-in inspection checklist
Work through the rental in the same order as your notes. Check only what you can safely access and operate normally; ask the landlord to demonstrate unfamiliar equipment.
Entryway and hallways
- Try each supplied key or fob and check the door latch, lock and intercom, if provided.
- Note damage to doors, frames, thresholds and baseboards.
- Record floor scratches, loose tiles, carpet stains and wall marks.
- Identify the building’s exits and confirm how to contact management in an emergency.
Living room and bedrooms
- Look at floors, walls and ceilings, including corners and closet interiors.
- Note nail holes, cracks, peeling paint, stains and unusual odours.
- Open and close accessible windows; check latches, screens, blinds and curtains.
- Try light switches and note missing bulbs, damaged fixtures or cracked outlet covers. Do not touch exposed wiring or test damaged outlets.
- Open closet doors and check shelves and hanging rails.
Kitchen
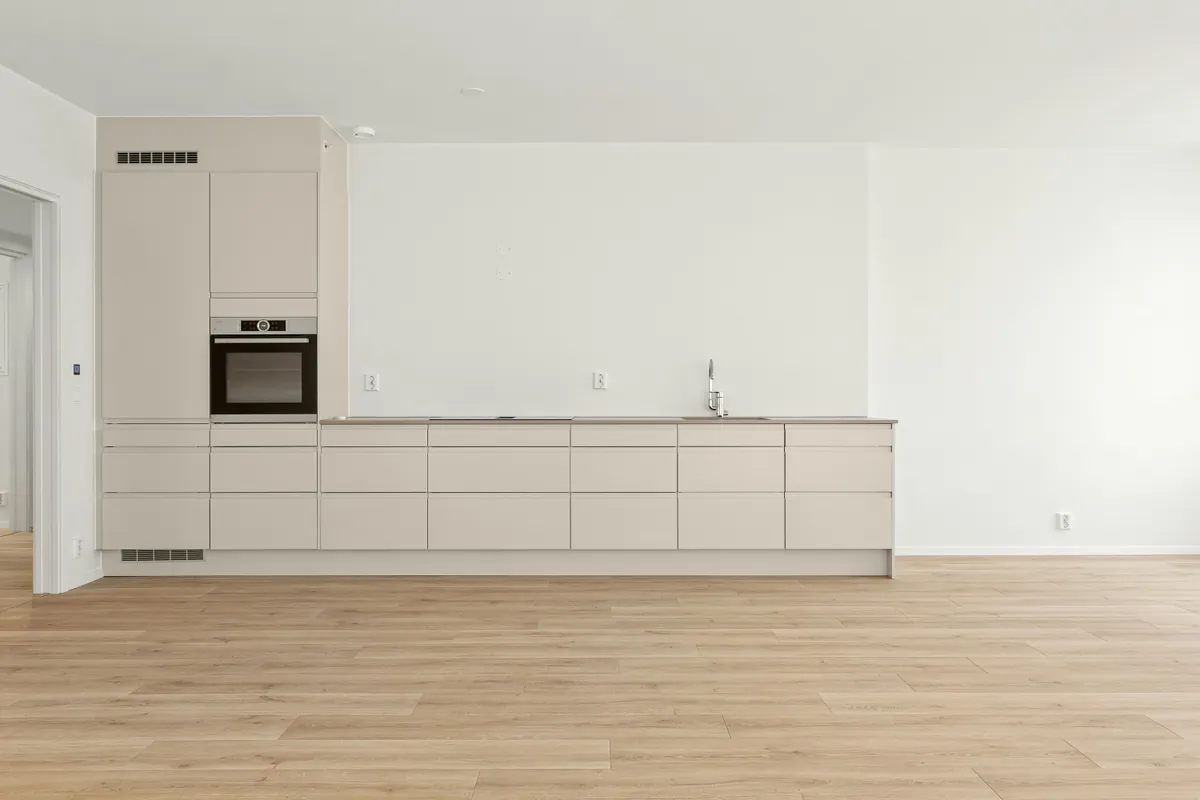
Image: Lisa Anna/Unsplash
- Check the fridge and freezer for cleanliness, damaged seals and signs they are cooling.
- Ask for a demonstration of the stove, oven, range hood and included dishwasher. Record any function you cannot test during the visit.
- Run the taps, watch the sink drain and check underneath for drips or moisture.
- Open drawers and cupboards; note loose hinges, chips and damaged shelves.
- Record countertop damage, appliance damage and signs of pests.
Bathroom and laundry
- Flush the toilet and check for visible leaks or persistent running.
- Run sink and shower taps; note weak flow, drainage problems and leaks.
- Inspect caulking, grout, cabinets and ceilings for damage or moisture marks.
- Check the ventilation fan and note visible mould or musty smells without disturbing suspect material.
- If laundry appliances are included, inspect visible hoses and seals and ask how to operate them.
Heating and safety equipment
- Ask how the thermostat and heating system work; note anything that cannot be tested that day.
- Check accessible vents for visible obstructions and damage.
- Ask the landlord to demonstrate smoke and carbon monoxide alarms where installed, following the manufacturer’s instructions.
- Record missing or damaged safety equipment and report it promptly. Do not open electrical panels or attempt repairs during the walkthrough.
Balconies, parking and storage spaces
- If a balcony or patio is included, note visible cracks, damaged flooring, drainage obstructions and damage to the railing. Check the access door and lock; do not lean on or test a damaged railing.
- Confirm the assigned parking space matches your lease. Note access problems, visible damage and whether supplied garage remotes or fobs work.
- Check the assigned storage locker for existing damage, moisture, signs of pests and a working door or lock. Confirm it is empty before storing your belongings.
- Photograph any issues and record the space or locker number so your notes clearly identify the affected area. Report safety concerns promptly to the landlord or building manager.
Use the printable rental inspection worksheet to record observations and photo references, not just check off rooms.
How to document damage with photos
Take an overview of each room, then close-ups of individual problems. A close-up of a scratch is more useful when another photo shows which floor or door it belongs to. Include a ruler for scale where helpful and safe.
Use specific descriptions. Instead of “bedroom damaged,” write: “Bedroom 1: three scratches beside the closet, approximately 10 cm long; photos B1-01 and B1-02.”
Keep original photo and video files, check your phone’s date settings and avoid filters. A short narrated video can supplement still photos and written notes. Save a backup with your lease and report in a private folder you can access throughout the tenancy. Timestamps help organize records; they do not guarantee how evidence will be assessed in a dispute.
Record repairs and share the report
Separate existing cosmetic damage from problems needing attention. For each repair, record the issue, when it was reported and any agreed action or completion date. Make sure disagreements are written down before signing a report, and keep a copy of what you signed.
For routine follow-up, adapt this message:
Hello [name], following our walkthrough on [date] at [address], I am sharing my inspection notes and photos. The kitchen tap drips when turned off, and there are scratches beside the bedroom closet. Please confirm receipt and let me know the next steps for the tap repair. Please also send me a copy of the completed inspection report. Thank you.
An ordinary email is not necessarily valid service of a formal legal notice. Check provincial requirements if a dispute develops. If the landlord cannot attend, request another time in writing and check the local procedure; keep your own dated observations in the meantime. Report urgent hazards immediately through the appropriate emergency or building contact rather than waiting for an email reply.
Keep these records for comparison when you leave. Our move-out cleaning checklist can help you plan the cleaning separately from documenting the unit’s condition.
Check your province’s inspection rules
Canadian inspection and deposit rules differ. The practical checklist above does not replace your province’s requirements. For example:
- British Columbia: The landlord and tenant should inspect together. The landlord must provide a copy of the move-in report within seven days of the inspection. The province provides Form RTB-27 and explains the information a report must contain. See BC’s move-in condition inspection guidance.
- Ontario: A rent deposit cannot be used for damage. The standard lease also addresses refundable key deposits and liability insurance. See Ontario’s standard lease guide.
- Quebec: A landlord cannot require a security deposit or key deposit. Recording the rental’s condition is still useful even when there is no damage deposit. See the Tribunal administratif du logement’s payment rules.

Image: Ivan S/Pexels
These examples are not a complete list of provincial rules. Consult your provincial or territorial tenancy authority for the process that applies to your rental. For background on rental paperwork, explore our guide to lease and rental agreements in Canada, then confirm current requirements with the relevant authority.
Move-in inspection FAQs
What if I find damage after the walkthrough?
Photograph it and notify your landlord promptly in writing, stating when you noticed it. Ask to add it to the record. Do not assume there is a Canada-wide grace period: BC’s guidance, for example, says to report missed damage as soon as possible. Its seven-day report-copy deadline is a different requirement.
Are photos enough without an inspection report?
Use both. Photos show details, while a written report identifies the location, date, observations and any disagreements. A photo collection does not replace a required inspection process or report.
Can I use this checklist for my first apartment?
Yes. Download the worksheet, take it from room to room and ask questions about anything unfamiliar. Before finishing, check that untested items are identified, repair requests are recorded and you have arranged to receive a copy of the report.